Windows ADFS Integration Setup
- 19 May 2022
- 1 Minute to read
- Print
- DarkLight
- PDF
Windows ADFS Integration Setup
- Updated on 19 May 2022
- 1 Minute to read
- Print
- DarkLight
- PDF
Article summary
Did you find this summary helpful?
Thank you for your feedback!
Open AD FS Management, and navigate to AD FS > Application Groups

Create or select an existing application and create or edit the Native Application.
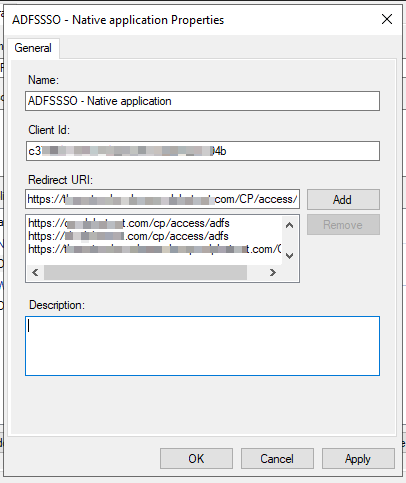
Add your URL to the Redirect URI listing, it needs to be this format:
https://<your-esign-domain-here>/CP/access/adfs
The your-esign-domain-here would be current domain in the browser address bar above.
Click Add to add that entry to the list, then click Apply, then OK which will close the ADFSSSO - Native application Properties.
These steps are for on-prem only. Skip these steps if you are a Saas customer.
Add the following lines to Pronto_CP section of your ProntoConfig.ini file:
[PRONTO_CP]
ShowAdfsButton=1
Restart services and IIS to ensure these properties are applied.
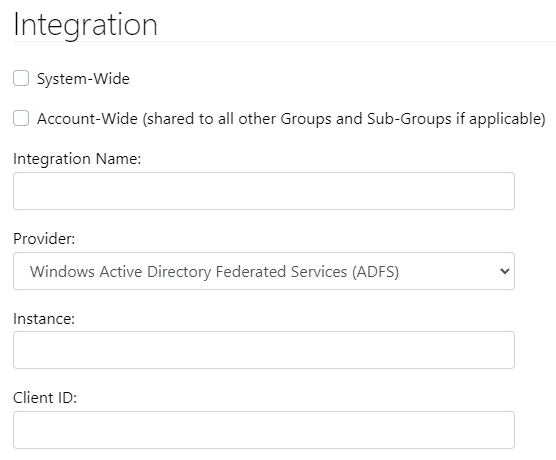
Login into the CP with either a System-Wide Admin, and Account-Wide Admin, or a Group Admin User account type and then navigate to the "Account > Integrations" section. Click on the green Add Integration button. You will see the following dialog. Type out a unique name for your integration, select Windows Active Directory Federated Services (ADFS) for the Provider, paste in the domain for your ADFS instance (i.e. https://adfs.mydomain.com) and the Client ID.
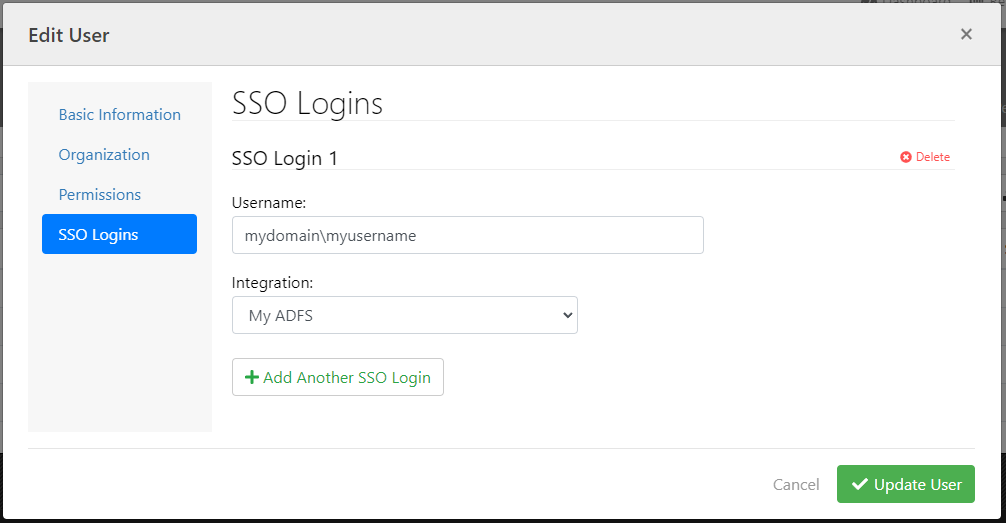
Then you'll need to set up a user. Navigate to the "Account > Users" section, click to edit a user, go to the SSO Logins tab on the left side navigation, click the Add SSO Login button, enter the ADFS username, select the ADFS integration name you defined in the previous section, and then click Update User to save the changes.
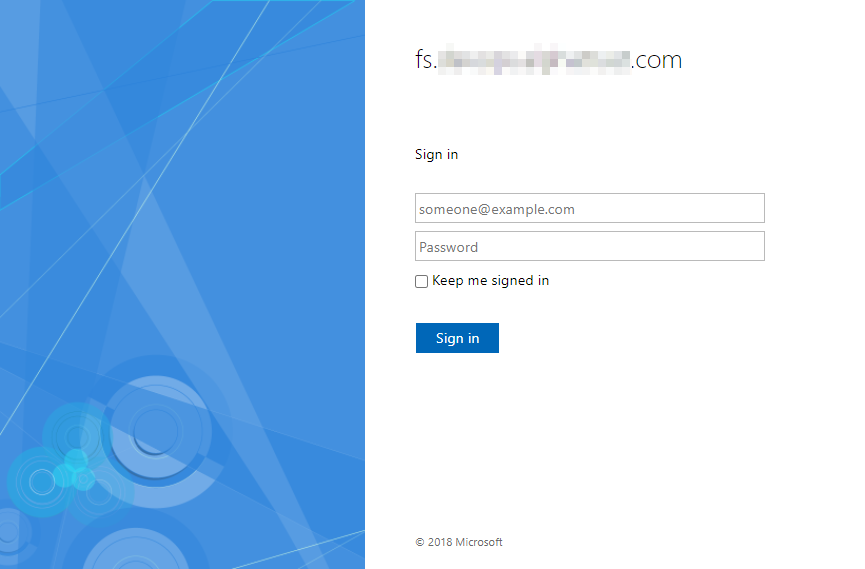
Once you have all the above configurations, when you go to the CP login screen, you'll now see a new button for ADFS login:
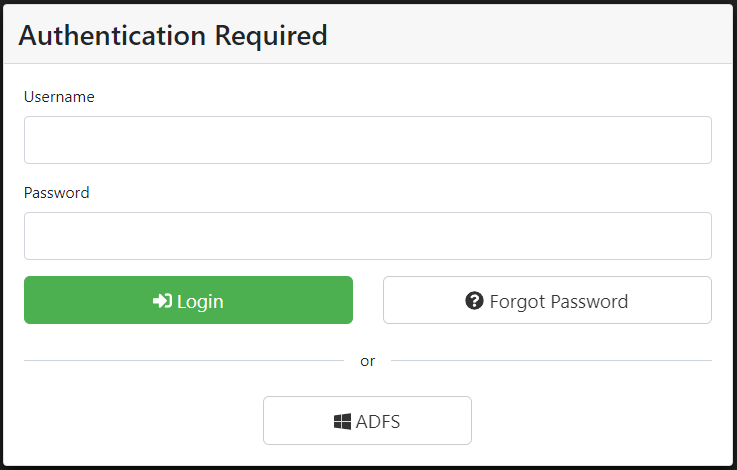
Once you enter in your username and click continue, you'll be prompted to log into your Windows Active Directory account.
Was this article helpful?